
.jpg)
How to Find the WPS PIN for HP DeskJet Printers?
Setting up an HP DeskJet printer on a wireless network is usually quick and easy. During the setup process, you may be asked to enter a WPS PIN to complete the connection between your printer and your Wi-Fi router. If you cannot find the PIN, don't worry. Many users expect it to be printed on the printer, but that is not always the case.
For most HP DeskJet printers, the WPS PIN is generated automatically when you begin the wireless setup. It is a temporary security code designed to create a safe connection between your printer and your wireless network. Once the setup is complete, the PIN expires and is no longer valid.
What Is a WPS PIN?
WPS stands for Wi-Fi Protected Setup.
A WPS PIN is a temporary code that allows your HP DeskJet printer to connect securely to a wireless router without manually configuring advanced network settings.
The PIN is different from your Wi-Fi password and is only used during the setup process.
Check the Printer Display
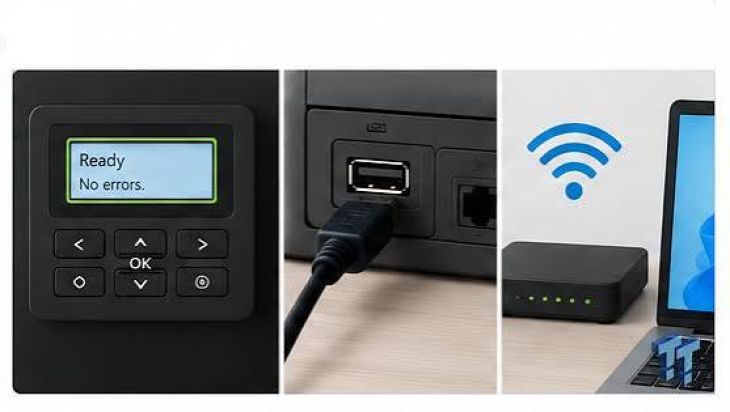
If your HP DeskJet printer has a display screen, open the Wireless or Network menu.
Start the WPS PIN setup option.
The printer will generate and display a temporary PIN that you can use to complete the wireless connection.
Use the HP Printer Software
Some HP DeskJet models display the WPS PIN through the printer setup software installed on your computer.
Open the printer software and begin the wireless setup process.
If your printer supports the PIN method, the software will display the temporary WPS PIN.
Print a Network Configuration Page
Many HP DeskJet printers can print a wireless or network configuration page.
This page contains useful network information that can help during the setup process.
Although the WPS PIN is generally temporary, the report can help you verify the printer's wireless status.
Use the WPS Push Button Method
If your wireless router has a WPS button, you may not need to use a PIN at all.
Press the WPS button on your router.
Then start the WPS connection on your HP DeskJet printer.
The printer and router will connect automatically if both devices support this method.
Restart the Wireless Setup
If the PIN does not appear, cancel the setup and start it again.
Most HP DeskJet printers generate a new temporary WPS PIN each time the WPS setup begins.
Restart the Printer and Router
Temporary communication issues can prevent the printer from generating the PIN.
Turn off the printer and restart your wireless router.
Once both devices are ready, begin the WPS setup again.
Update the Printer Driver
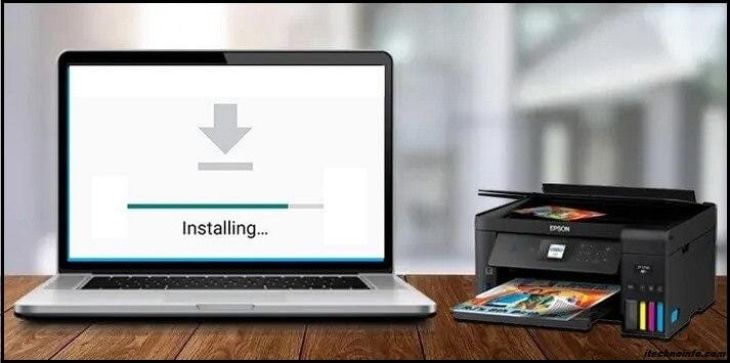
An outdated printer driver can affect communication during wireless setup.
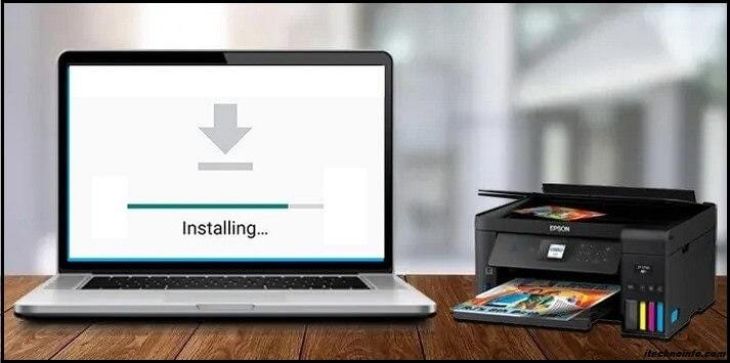
Install the latest driver for your HP DeskJet printer model and operating system.
Restart your computer after the installation if required.
Update the Printer Firmware
Firmware updates improve wireless stability, fix known issues, and enhance printer performance.
Keeping the firmware updated helps reduce wireless setup problems.
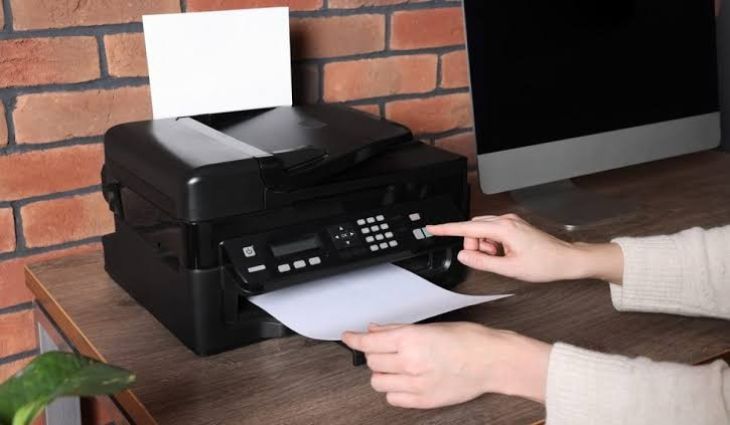
Print a Test Page
After connecting the printer to Wi-Fi, print a test page.
A successful print confirms that the printer is connected correctly and ready for wireless printing.
Common Reasons the WPS PIN Does Not Appear
If your HP DeskJet printer does not display a WPS PIN, the cause may be one of the following:
WPS setup has not been started.
Temporary printer software issue.
Outdated printer firmware.
Weak Wi-Fi signal.
Incorrect wireless settings.
Router communication problem.
Printer connected to another network.
Interrupted setup process.
Network configuration conflict.
Outdated printer driver.
WPS feature disabled on the router.
Temporary network interruption.
Checking these possible causes can help you complete the setup successfully.
Tips for a Smooth Wireless Setup
Follow these simple tips to improve your wireless connection.
Keep the printer close to the wireless router.
Install the latest printer driver.
Update the printer firmware regularly.
Verify your Wi-Fi network before beginning setup.
Restart the printer occasionally.
Keep your operating system updated.
Print a test page after completing the setup.
Check your router settings if the connection fails.
These practices help maintain a stable wireless connection.
FAQs
Is the WPS PIN printed on my HP DeskJet printer?
In most cases, no. The WPS PIN is generated temporarily during the wireless setup process.
Is the WPS PIN the same as my Wi-Fi password?
No. The WPS PIN is a temporary code used only during setup, while the Wi-Fi password is used to access your wireless network.
Can I connect my HP DeskJet printer without a WPS PIN?
Yes. You can use the WPS Push Button method or manually connect the printer by entering your Wi-Fi network name and password.
Why doesn't my HP DeskJet printer show the WPS PIN?
The PIN usually appears only after starting the WPS setup. Restarting the setup often generates a new temporary PIN.
Should I update the printer firmware before setup?
Yes. Firmware updates improve wireless performance and fix known connection issues.
What should I do if I still can't connect my HP DeskJet printer?
Restart the printer and router, verify your Wi-Fi settings, update the printer driver and firmware, and repeat the wireless setup. If the issue continues, further troubleshooting may be required.
Conclusion
The WPS PIN for an HP DeskJet printer is usually generated automatically when you begin the wireless setup process. Depending on your printer model, you can find it on the printer display or through the printer software. If your router supports the WPS Push Button method, you may not need a PIN at all.
Keeping your printer software updated, maintaining a strong Wi-Fi connection, and following the correct setup process will help you connect your HP DeskJet printer quickly and securely. If the WPS PIN still does not appear, additional troubleshooting may be needed to identify the cause.
.jpg)


.jpg)
.jpg)
.jpg)
.jpg)
.jpg)
.jpg)
.png)
.png)
.jpg)
.jpg)
.jpg)
.jpg)
.jpg)
.jpg)
.jpg)
.jpg)
.jpg)