
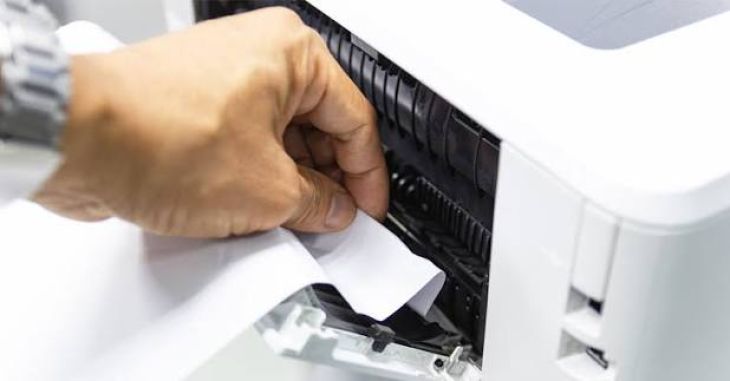
How to Fix a Paper Jam in Any Printer?
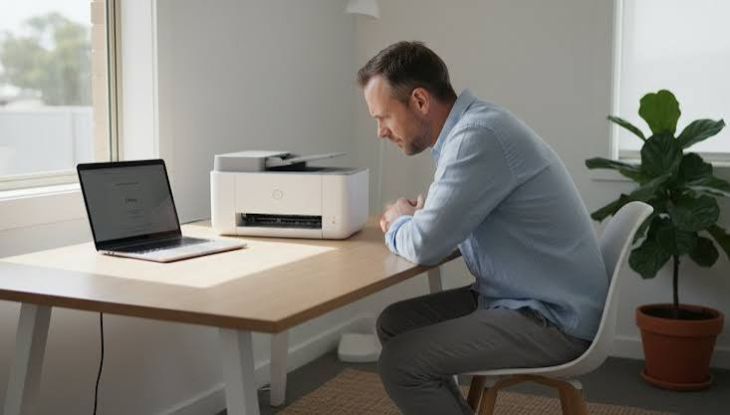
A paper jam is one of the most common printer problems faced by home users, students, and businesses. Whether you use an inkjet printer, laser printer, or wireless printer, a paper jam can interrupt printing, cause error messages, and prevent the printer from working normally. The good news is that most paper jams can be cleared safely without damaging the printer.
Common Signs of a Paper Jam
Your printer may show several symptoms when a paper jam occurs.
Common signs include:
-
Paper stops moving through the printer.
-
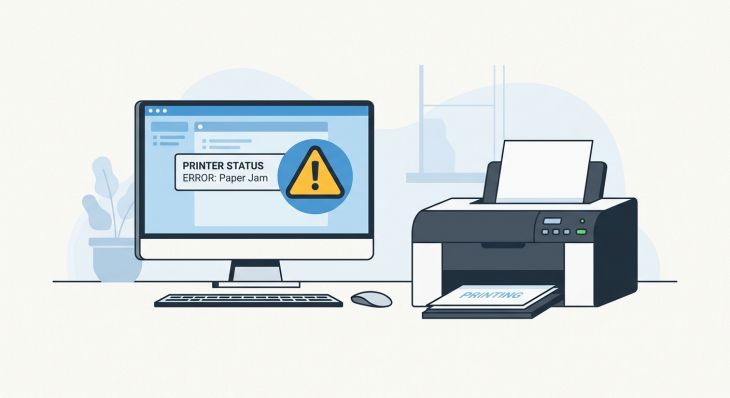
Printer displays a paper jam message.
-
Printer makes unusual noises.
-
Printing stops unexpectedly.
-
Paper exits partially from the printer.
-
Printer refuses to print new documents.
Recognizing these signs helps you locate the jam more quickly.
Turn Off the Printer First
Before removing any paper, turn off the printer.
This helps:
-
Prevent damage to internal components.
-
Reduce the risk of tearing paper.
-
Protect moving parts from sudden motion.
-
Make the removal process safer.
Wait until the printer is completely powered down before continuing.
Open All Accessible Covers
Carefully open the printer's paper access areas.
Check locations such as:
-
Front cover
-
Rear access door
-
Paper tray area
-
Output tray area
-
Duplex or rear paper path, if available
Look for any visible paper that is stuck inside.
Remove the Jammed Paper Slowly
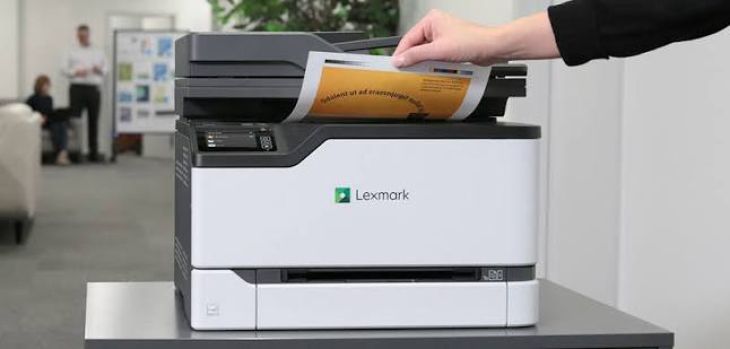
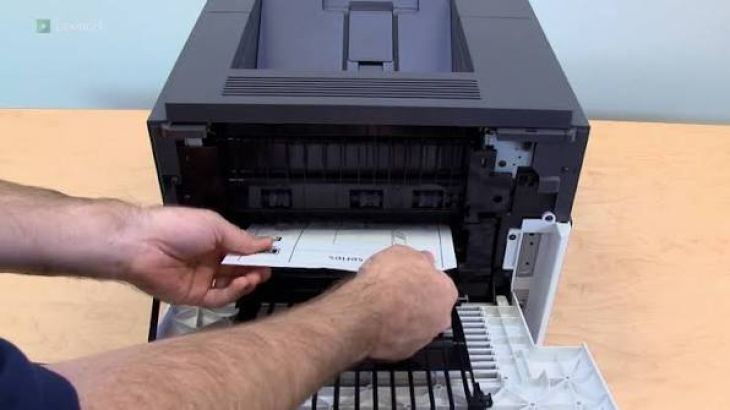
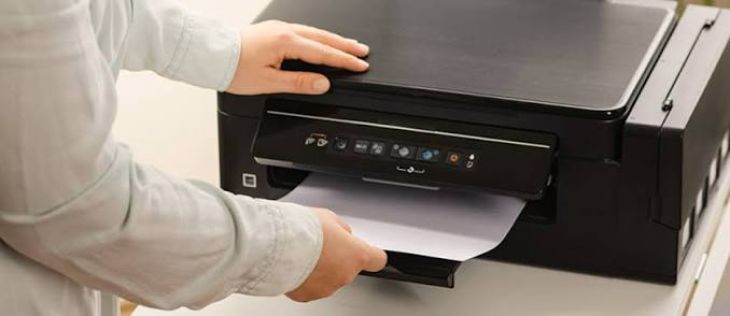
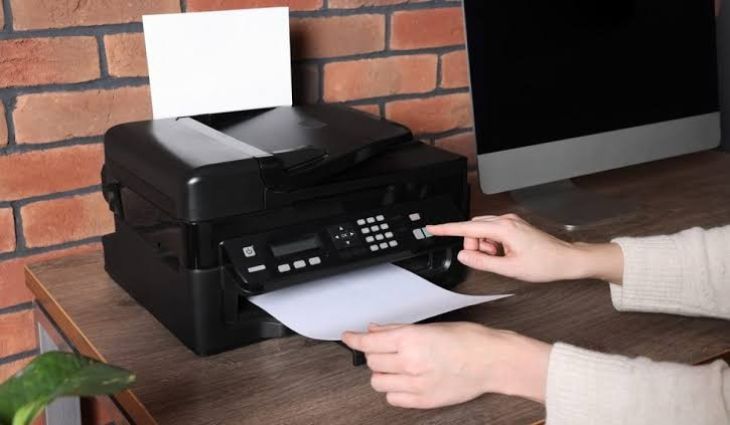
Gently pull the paper in the direction it normally travels through the printer.
Important tips:
-
Use both hands if possible.
-
Pull slowly and steadily.
-
Avoid jerking the paper.
-
Do not force the paper out.
Pulling too hard may tear the paper and leave pieces inside.
Check for Torn Paper Pieces
After removing the main sheet, inspect the printer carefully.
Look for:
-
Small paper fragments
-
Bits of torn paper
-
Labels or stickers
-
Foreign objects
Even a tiny piece of paper can trigger another paper jam error.
Inspect the Paper Tray
Remove the paper stack and check the tray.
Make sure that:
-
Paper is not curled.
-
Paper is not damp.
-
The tray is not overloaded.
-
Paper guides are adjusted correctly.
-
All sheets are aligned evenly.
-
Reload the paper neatly before continuing.
Check the Rear Paper Path
Many printers allow access to the rear paper path.
Open the rear access area and check for:
-
Hidden paper jams
-
Torn paper pieces
-
Dust buildup
Removing hidden obstructions often resolves persistent jam errors.
Close All Covers Securely
-
After clearing the jam, close every cover and access door completely.
-
An improperly closed cover may prevent the printer from operating normally.
Turn the Printer Back On
-
Restart the printer and allow it to complete its startup process.
-
Many printers automatically check for remaining jams during startup.
Print a Test Page
After the printer becomes ready, print a test page.
A successful test confirms that:
-
The jam has been cleared.
-
Paper feeds correctly.
-
The printer is working normally.
-
No additional errors remain.
What If the Printer Still Says Paper Jam?
If the error remains, check again for:
-
Tiny paper fragments
-
Hidden jams in the rear path
-
Misaligned paper in the tray
-
Dust around the rollers
-
Foreign objects inside the printer
Restart the printer once more after rechecking all areas.
Common Causes of Paper Jams
Understanding the cause helps prevent future jams.
Frequent causes include:
-
Overloading the paper tray
-
Using damaged paper
-
Using damp or curled paper
-
Incorrect paper size
-
Misaligned paper guides
-
Dirty or worn rollers
-
Foreign objects in the paper path
-
Printing large jobs continuously
Tips to Prevent Future Paper Jams
Use Good-Quality Paper
Store paper in a dry place and avoid damaged sheets.
Load Paper Correctly
Align the paper stack before placing it in the tray.
Do Not Overfill the Tray
Leave enough space for the paper to move freely.
Adjust Paper Guides Properly
Guides should touch the paper lightly without bending it.
Clean the Printer Regularly
Remove dust and debris from the paper path.
Remove Printed Pages Promptly
Prevent output trays from becoming overloaded.
Common Mistakes to Avoid
Avoid these mistakes when clearing a paper jam:
-
Pulling paper forcefully
-
Removing paper in the wrong direction
-
Ignoring torn paper fragments
-
Using sharp tools inside the printer
-
Overloading the paper tray
-
Using damp or curled paper
-
Leaving foreign objects inside the printer
-
Ignoring repeated jam warnings
FAQs
Why does my printer keep getting paper jams?
Frequent jams are often caused by overloaded trays, damaged paper, incorrect paper guides, dirty rollers, or paper fragments left inside the printer.
Should I pull jammed paper backward?
It is usually safer to pull the paper in the direction it normally travels through the printer to reduce the risk of tearing.
What if I cannot see the jammed paper?
Check the rear paper path, duplex area, paper tray, and all access doors for hidden paper fragments or obstructions.
Can a tiny piece of paper cause a paper jam error?
Yes. Even a small torn piece of paper can trigger a paper jam message and prevent printing.
How can I prevent paper jams in the future?
Use good-quality paper, load it correctly, avoid overfilling the tray, adjust paper guides properly, clean the printer regularly, and remove printed pages promptly.
Conclusion
Paper jams are frustrating, but they are usually easy to fix when handled carefully. The key is to turn off the printer, remove jammed paper slowly, check for torn fragments, inspect the paper tray and rear paper path, and then test the printer after restarting it.
By using quality paper, loading it correctly, cleaning the printer regularly, avoiding overfilled trays, and checking for small obstructions, you can greatly reduce the chances of future paper jams and keep your printer running smoothly.
.jpg)
.jpg)


.jpg)
.jpg)
.jpg)
.jpg)
.jpg)
.jpg)
.png)
.png)

.jpg)
.jpg)
.jpg)
.jpg)
.jpg)
.jpg)
.jpg)
.jpg)
.jpg)